$24.99Original price was: $24.99.$23.99Current price is: $23.99.
Christina Carter and Hannah Perez have met before and Christina comes to learn that Hannah is well off. Christina decided it be a good idea to go to Hannah’s house and try to get some of her wealth. As she is walking on the property line she sees Hannah undressing and becomes a little turned on. But she is there on a mission.
Christina makes her way in and after the sight she has other plans she would like to make, but she decides to stick with getting the money. Once she has found it, she has been found by Hannah. Hannah tells her she knows what to look for in things. Christina was seen when Hannah met her. Hannah knows how to spot a fellow thief. But that doesn’t mean she will be getting away that easy.
Hannah hands Christina a pair of handcuffs and makes her put them behind her back. Hannah imagines that Christina has had handcuffs on a once or twice before. Christina wants to know how she looks in them, throwing the whole dynamic of the situation off. Hannah tells her not to fuck with her. Hannah can see Christina is going to be trying to talk her way out of this one.
Christina tries to tell Hannah that it wasn’t anything personal she just wanted the money. Hannah decides that they might be able to come up with a deal. Christina has no problem calling out Hannah’s attraction to her.
Hannah comes up with a negotiation alright. There is a sale to be made. But first a little kissing and bondage and a tape gag to add.
$9.99Original price was: $9.99.$8.99Current price is: $8.99.
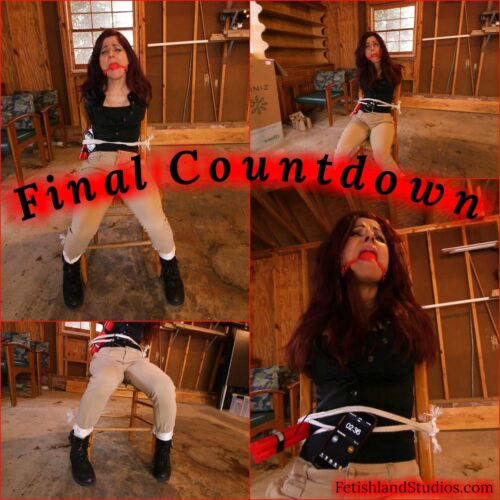
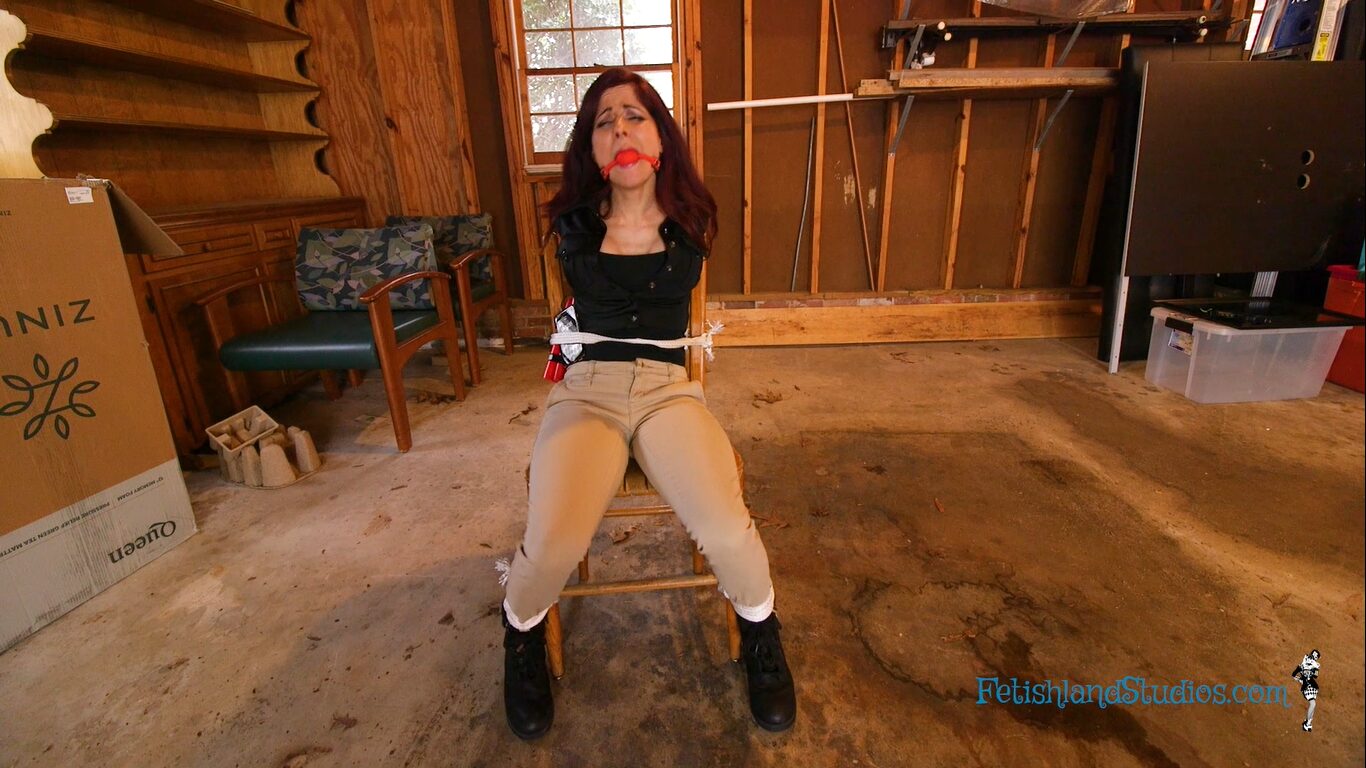
Detective Hannah Perez has arrived at the location of a distress call where a home invasion has taken place. She is searching the premises armed and ready to take on whatever danger is to arise …or so she thinks. Detective Perez is caught off guard when the intruder sneaks up behind her before she has a chance to react.
Hannah Perez is now tied up to a chair. She helplessly panics in her binds and mmphs through her gag. Least of her worries is the fact that she is incredibly uncomfortable, bursting at the seams with pee. Worst of all, Hannah has a bomb strapped to her waist, and the timer is counting down fast. This predicament is worse than she had expected. With no way to conceivably escape the situation, Hannah Perez struggles in hopes of wriggling herself loose before it’s too late.
$20.99Original price was: $20.99.$19.99Current price is: $19.99.
Helena is talking on the phone with her boss, acting surprised Hannah and she had week off at the same time. Camera pans to reveal Hannah bound to stripper pole, hands duct taped, with spreader bar, cuffed feet and mouth stuffed and sealed. Helena roams Hannah’s body and kisses her neck. Helena slides Hannah’s dress of shoulders, kissing her upper body. When Hannah struggles too much, Helena wraps rope around her torso and bound hands. Helena wraps her arms around Hannah’s lower back, rubbing her body against Hannah’s and kissing her. Hannah shifts to more sensual struggles and moaning.
$24.99Original price was: $24.99.$23.99Current price is: $23.99.
Hannah Perez brings in Lora Cross, who is gagged with a tennis ball and tape, with taped wrists. Scene goes dark, and when it comes back Lora Cross is in spread eagle position with shoes and socks removed. Hannah Perez cuts off her shorts and panties, removes tennis ball gag and stuffs Lora Cross’s panties in her mouth, sealing them in with clear tape. Hannah Perez cuts Lora Cross’s top off, then gropes, fondles and spanks her. She takes Lora Cross’s tennis racket and puts its handle on Lora Cross anally (simulated). Hannah Perez leaves Lora Cross to struggle, then comes back and secures a vibrator to Lora Cross, forcing her to orgasm. Hannah Perez removes her panties and replaces Lora Cross’s gag with them and more tape. Lora Cross is left to orgasm. Hannah Perez comes back, ties on tight crotchrope and gives Lora Cross a new panty gag with dirty thongs. Lora Cross is left to struggle helplessly.
$20.99Original price was: $20.99.$19.99Current price is: $19.99.
Christina Carter a.k.a Supreme Girl has entered to win this fight. Christina is confident that she will win this fight against you. She is confident enough to tell you that if she doesn’t win she will get naked. The fight begins and Christina has her hands up and you take control of them. Christina begins fighting herself, against the strength of her hands and the compolsion to stop. Christina didn’t have a chance in this fight. She doesn’t understand what is happening or how you are doing this to her. Christina acknowledges that you won. Christina knows that she said she would get naked if you won. She pulls her underwear down and her skirt down to her knees. Christina pulls her top over her breast. And then she replaces all her clothes. You tell her that it doesn’t count because she didn’t get completely naked. So you take control of Christina again and make her completely naked. You make Christina get on her knees and she begs you to stop controlling her. You got what you wanted, how long is it going to take. But she is talking to much for you, so you hand her a gag and make her tie it tightly around her mouth. Christina is clearly struggling with the fact that she is not in control of her own body and then you give her handcuffs to put on. Christina lays there on the ground struggling clearly feeling defeated.
The second scene, Christina comes in and is ready for her interview. She gets a rope lassoed around her waist. She wonders if this part of the interview. No it isn’t and there is 120 hostages for her to go save. She can save them by giving a strip tease. With each article of clothing that comes off she save 20 hostages. Christina can’t believe she is doing this but she has no choice since she doesn’t have her powers right now. She gets all of her clothes off and she is now told she has to stand there. You want her to turn around a couple times so you can get a good look at her. You then want her to surrender. Christina tries to get out of it, she did what you already asked her to do. She knows she was being tricked but there is no other options for her to take. She gets on her knees and gets handcuffed with her hands in the air. Next she is made to stand and her hands our bound to keep her arms over her head and her legs are tied making her legs stand apart. Christina, Supreme Girl, won’t be getting out of this as she is fondled and there is nothing she can do about it.
$10.99Original price was: $10.99.$9.99Current price is: $9.99.
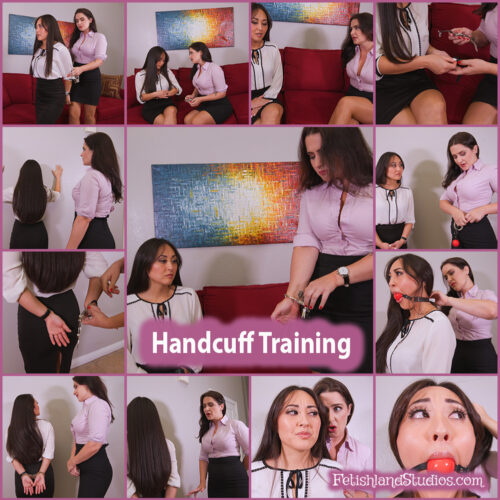
Sumiko Dreams enters the room, Tilly McReese sits on the couch, handcuffed behind her back. Sumiko sits and they talk. Tilly reveals she’s cuffed and teaches Sumiko how to act when cuffed. Tilly removes her cuffs and sets them on a table. She rolls up Sumiko’s sleeves, they remove their watches and Sumiko puts the Michele watch on her left wrist. Sumiko turns around and puts hands against the wall, then Tilly handcuffs her behind her back. Sumiko gets upset and Tilly calms her. Tilly gets a ball gag and gags Sumiko. She makes her walk across the room. Sumiko does it with her head down and fidgeting hands. Tilly tells her to walk with confidence, which Sumiko does. Tilly removes Sumiko’s handcuffs and gag and tells her she did well. Sumiko gives back the watch, then Tilly asks her to handcuff her for her next client.
$13.99Original price was: $13.99.$12.99Current price is: $12.99.
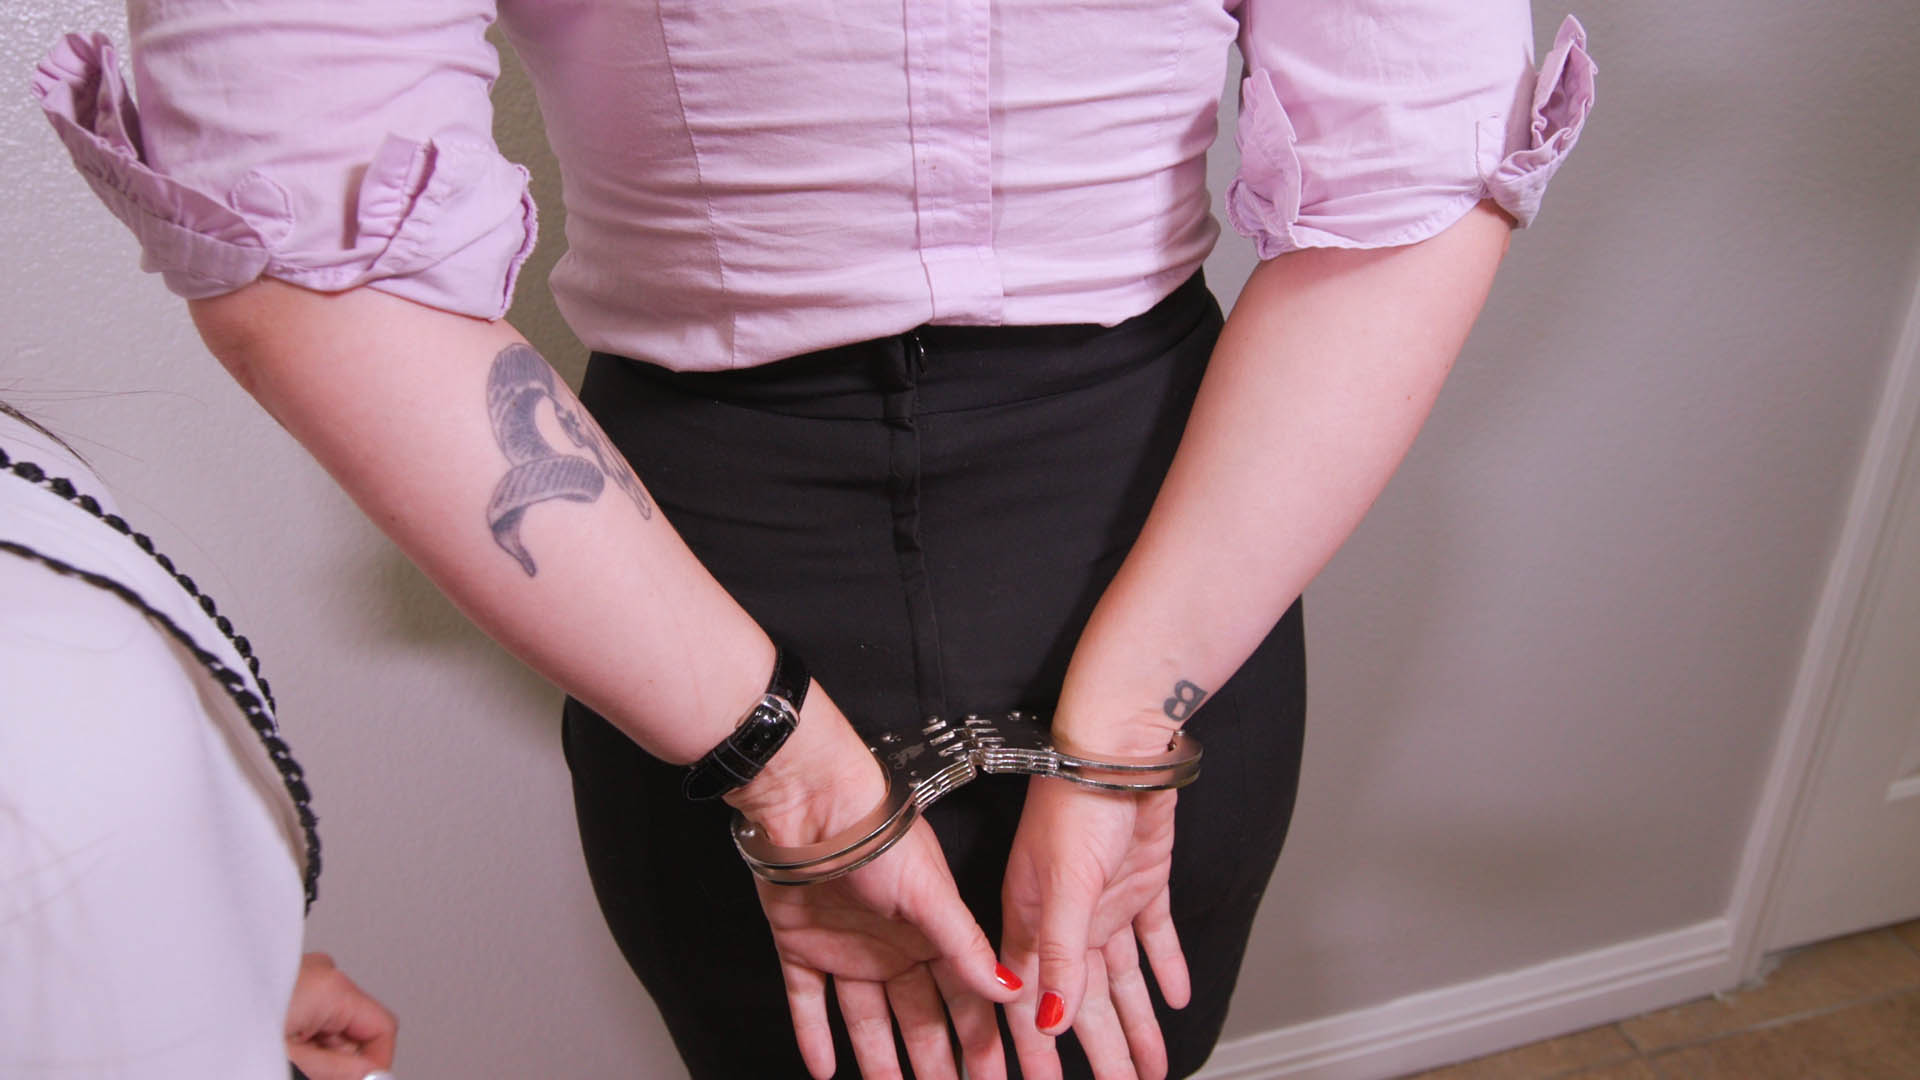
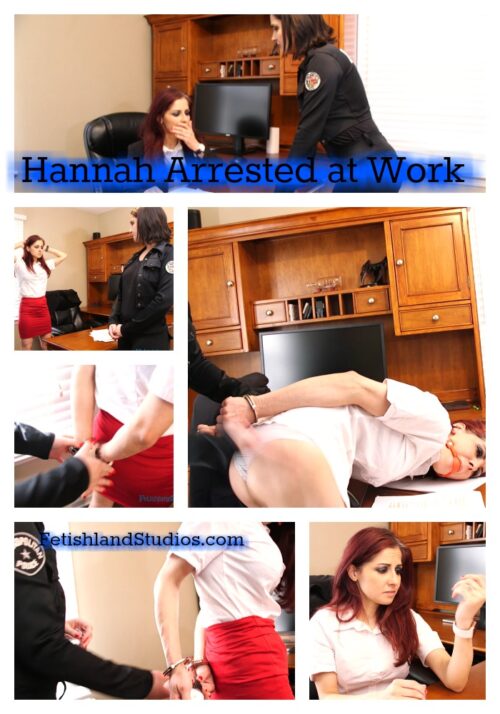
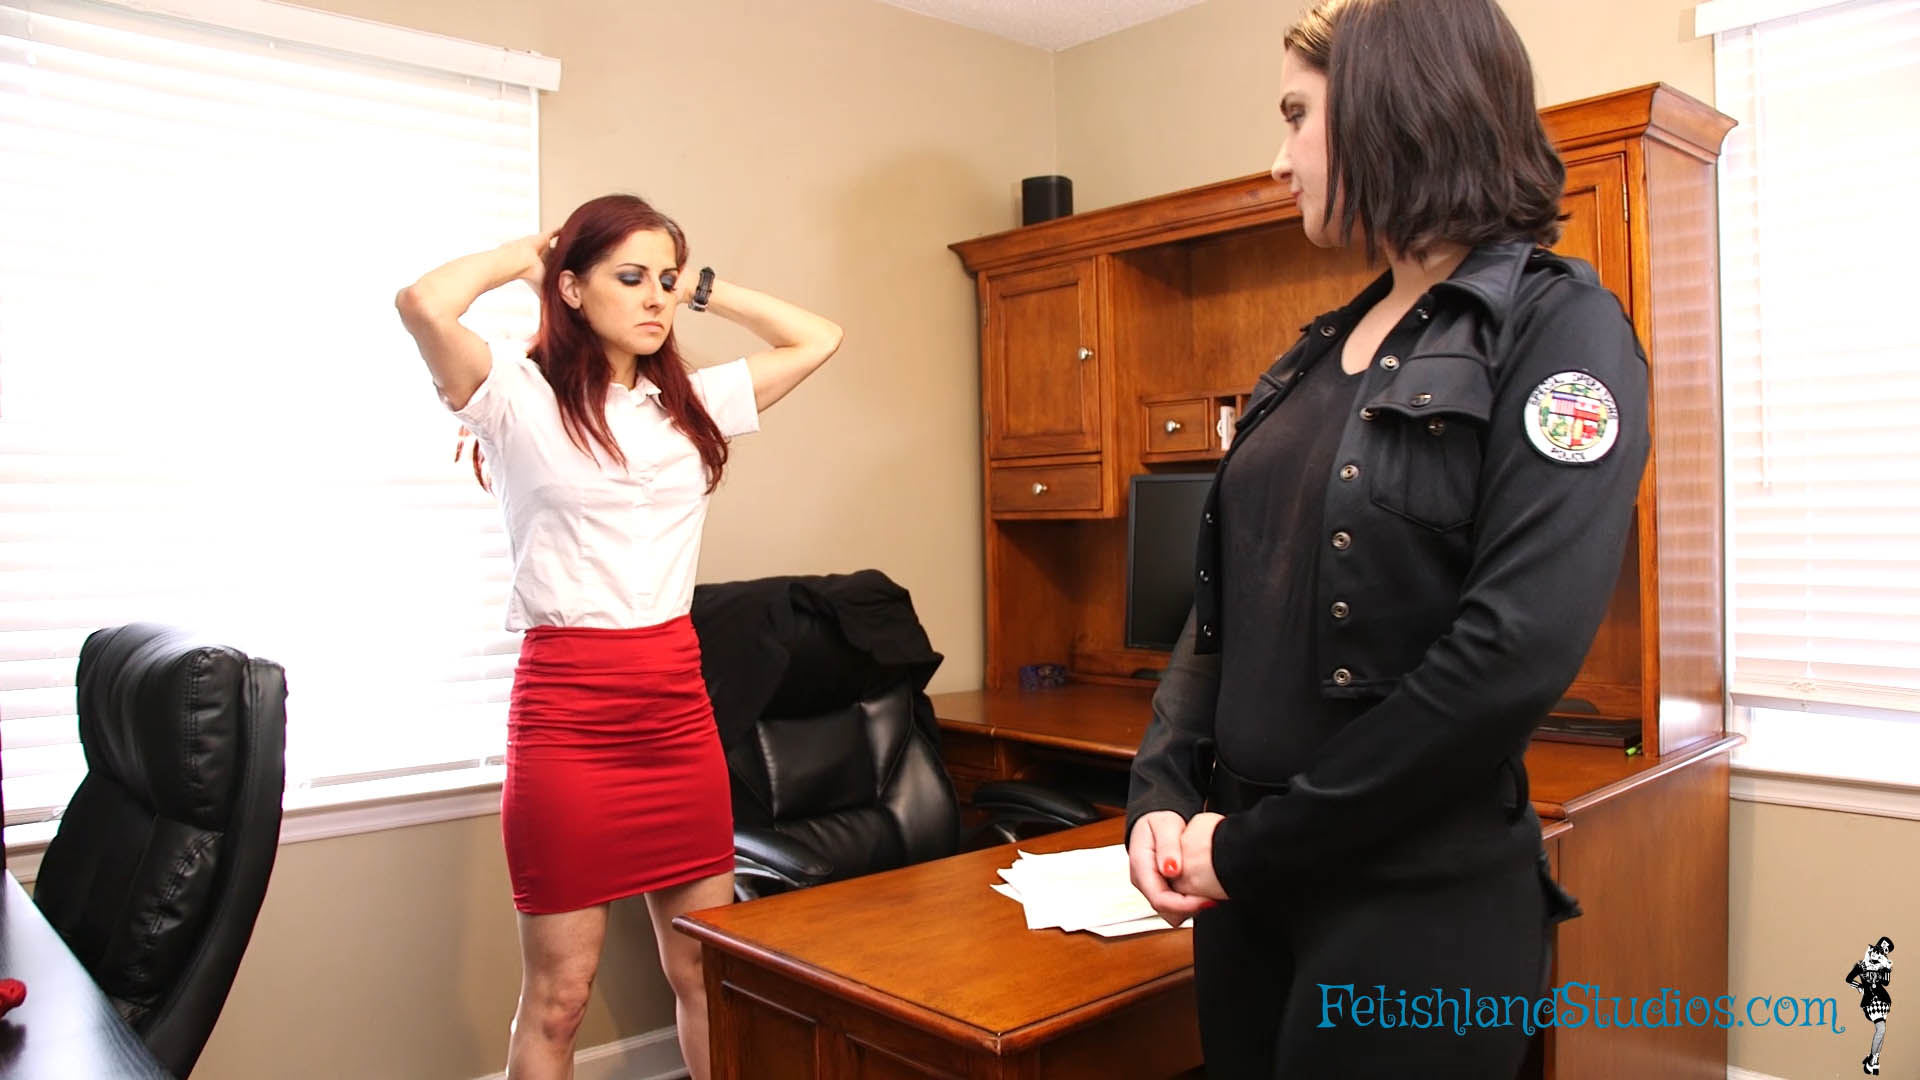
Hannah Perez is at work when she gets a knock at the door. Tilly McReese is the officer walking in, telling Hannah she has a warrant for her arrest. Hannah confused but Tilly reminds her of all the unpaid tickets she has sitting there. Hannah wondered if there was a way to take care of it today and not have to leave work. Tilly said no at first telling her this is her job and this is how it has to go. Hannah didn’t want to be handcuffed in front of all her employees. But she said she is no better then anyone else so this is how she has to go. Tilly offers to wait and handcuff her until she gets outside. Hannah doesn’t go for it and Tilly is appreciative that Hannah is being cooperative. Tilly tells Hannah that she needs her to put her hands on her head and spread her legs so she can search her. Tilly then has Hannah put her hands on the wall starting with one hand then the other behind her back. Tilly then puts the cuffs on Hannah. Hannah tells her not to go easy and just put them on like she would anyone. Hannah says this is the first time she has had hand cuffs on and she moves her wrists around saying she did this to herself. Tilly says she is just doing her job. Hannah asks how they look on her and to be honest. Tilly says they aren’t the best accessory but Hannah makes them look good. Tilly offers to make this all go away with 10 spanks. Hannah takes the offer. Hannah has a request to go with the spanking. She has a red ball gag and she wants to wear it while she gets spanked. Hannah says she wants to muffle her screams so that her employees don’t hear her. Tilly puts the ball gag in and then pulls Hannah’s skirt down and tells Hannah to count off each spank. Once Tilly is done she puts Hannah’s skirt up and says she will take one more bribe. Which is Hannah’s watch. Tilly has been eyeing it since Hannah asked how the cuffs look on her. Hannah gives her watch over and Tilly gives Hannah hers. Tilly then removes the ball gag and cuffs. Hannah looks at her new watch and says she guesses that it is better then the handcuffs.
$11.99Original price was: $11.99.$10.99Current price is: $10.99.
Hannah Perez is on the phone with her friend just gabbing about her really long day at GagMe Inc, and how she passed the day swooning over YOU, Hannah’s hottest work crush! She would do just about anything for you!! Hannah hangs up the phone and masturbates to you until falling asleep… Until she is awoken within a very strange dream… Hannah wakes up with a penis locking gag in her mouth!
You walk in to find Hannah trying to take off her new gift! Hannah quickly understands that YOU put that naughty thang on her… and she wants to show off her new penis locking gag for you. Hannah slowly and seductively flirts with you before getting on her knees and handing you the key to her locking gag. Hannah is so turned on by you watching her in her new gag that she masturbates over her little panties and orgasms right there… Suddenly, Hannah wakes up! Realizing this was all a dream… until she finds the penis locking gag hiding in her bed!!
$16.99Original price was: $16.99.$15.99Current price is: $15.99.
Ashley Lane is naked, hog-cuffed and ballgagged on the floor. She has hinged cuffs on her wrists and ankles, with another pair of handcuffs connecting them together in a hog position! She struggles helplessly on the floor while you get plenty of views of her body — including many closeups of her gorgeous cuffed feet and toes!
$24.99Original price was: $24.99.$23.99Current price is: $23.99.
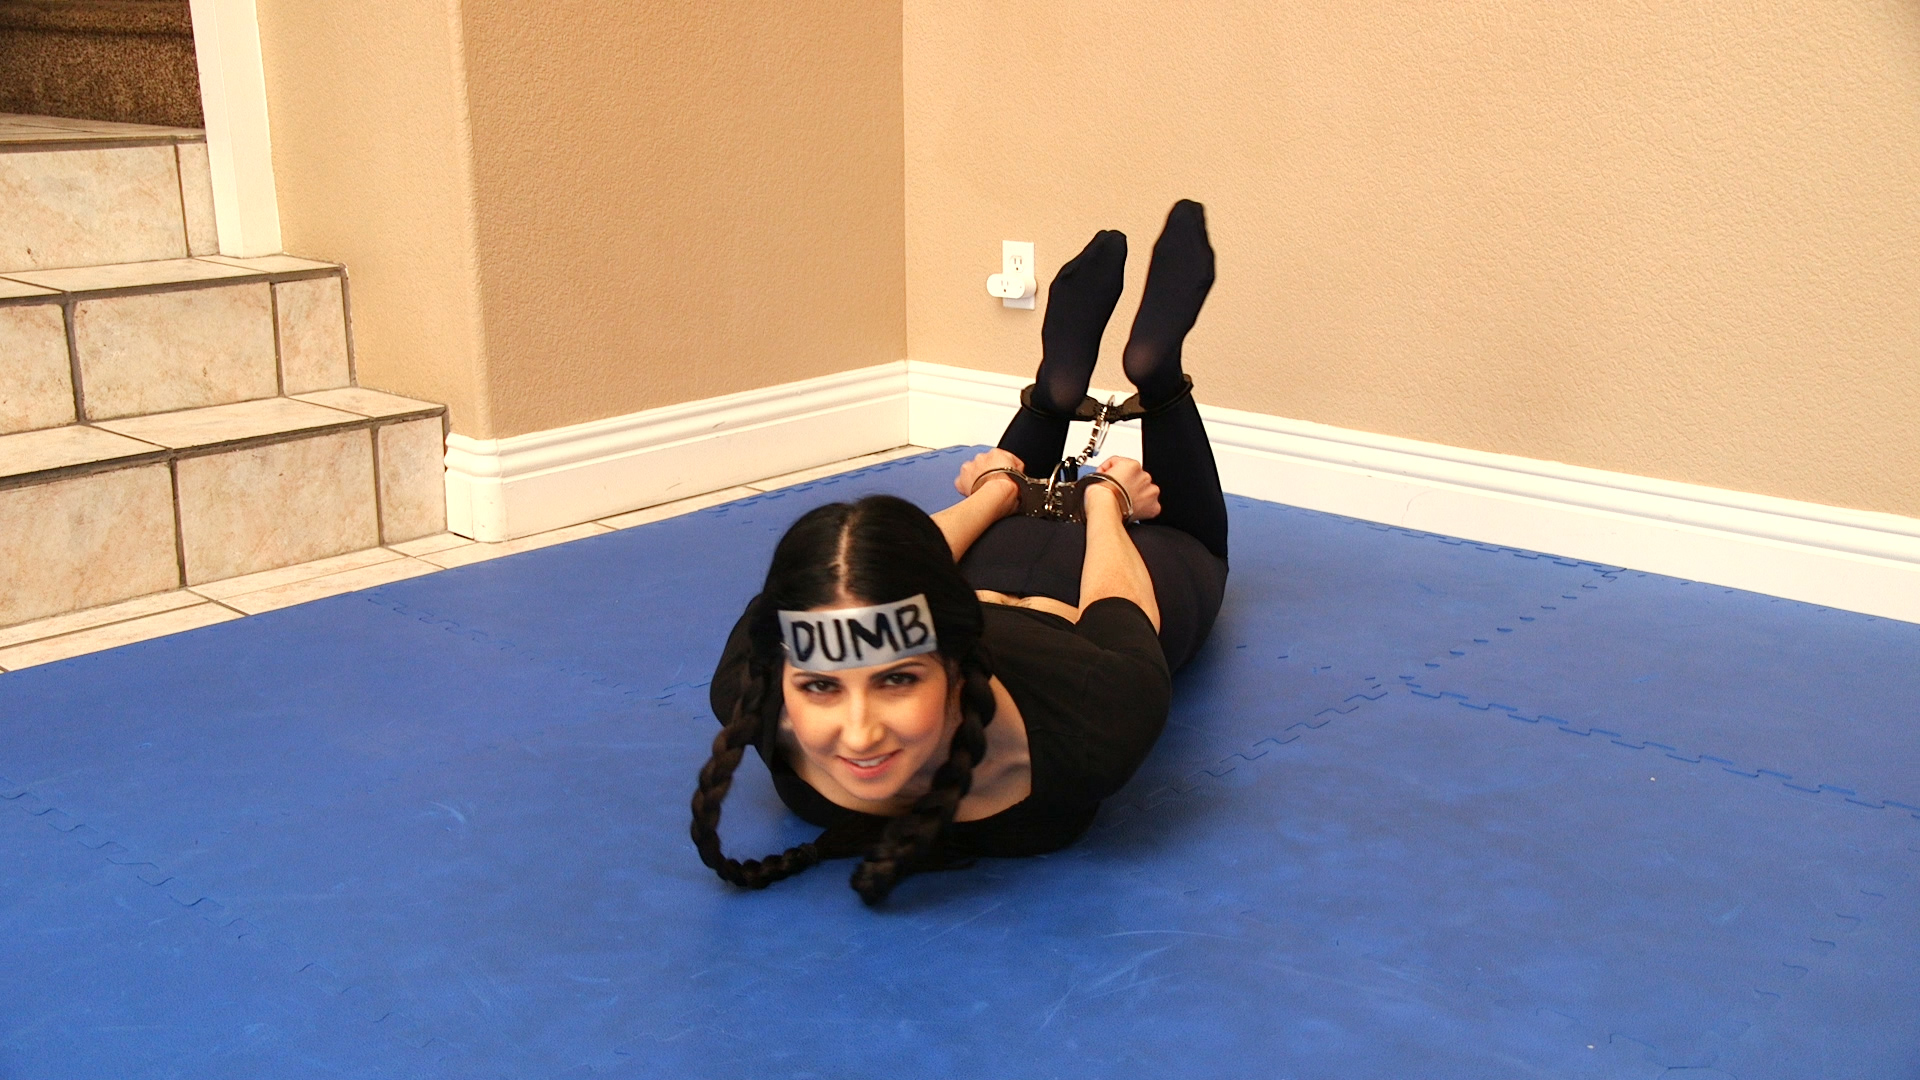
Hannah Perez is hogcuffed, labled “DUMB”, hinged on wrists and ankles connected with regular cuffs. She is happy and submissive, giving JOI to camera. She talks to POV about situation, encouraging him to keep stroking and using her. She talks herself down.
After 15 minutes, she is gagged with biggest available ball gag, and talks while gagged like before.
At the end, gag is removed, and she gives a personal feedback
$13.99Original price was: $13.99.$12.99Current price is: $12.99.
Vika got herself in a tough situation as she is on the ground with her hands tied behind her back and she is gagged. She tries to call for help but there is no way for her to move or make a call. Her cries for help are muffled by her cleavegag. It looks like she will be stuck there for a while.